
续上篇《从Kotlin双锁单例中学习到…》,我们为这个加解密单例添加一个单元测试,继续优化我们的代码。从这篇你可以了解到:
Android单元测试的添加
单元测试的生命周期
单元测试的Mock对象
断言的使用
Andorid单元测试的添加
1
2
3
| testImplementation 'junit:junit:4.13.1'
androidTestImplementation 'androidx.test.ext:junit:1.1.1'
androidTestImplementation 'androidx.test.espresso:espresso-core:3.2.0'
|
步骤1,这里是使用junit来进行andorid的单元测试,因此在模块的build.gradle下dependencies加入junit依赖包
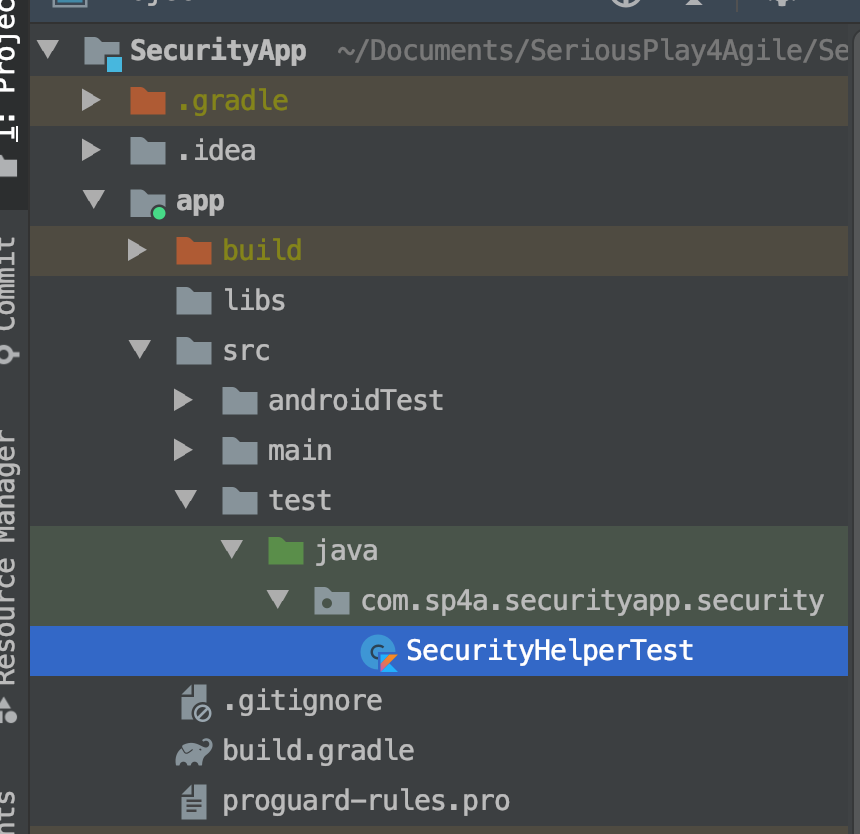
步骤2方式一:在对应模块-src-test-java下,添加一个kotlin或java的类SecurityHelperTest,我这里是kotlin的语言
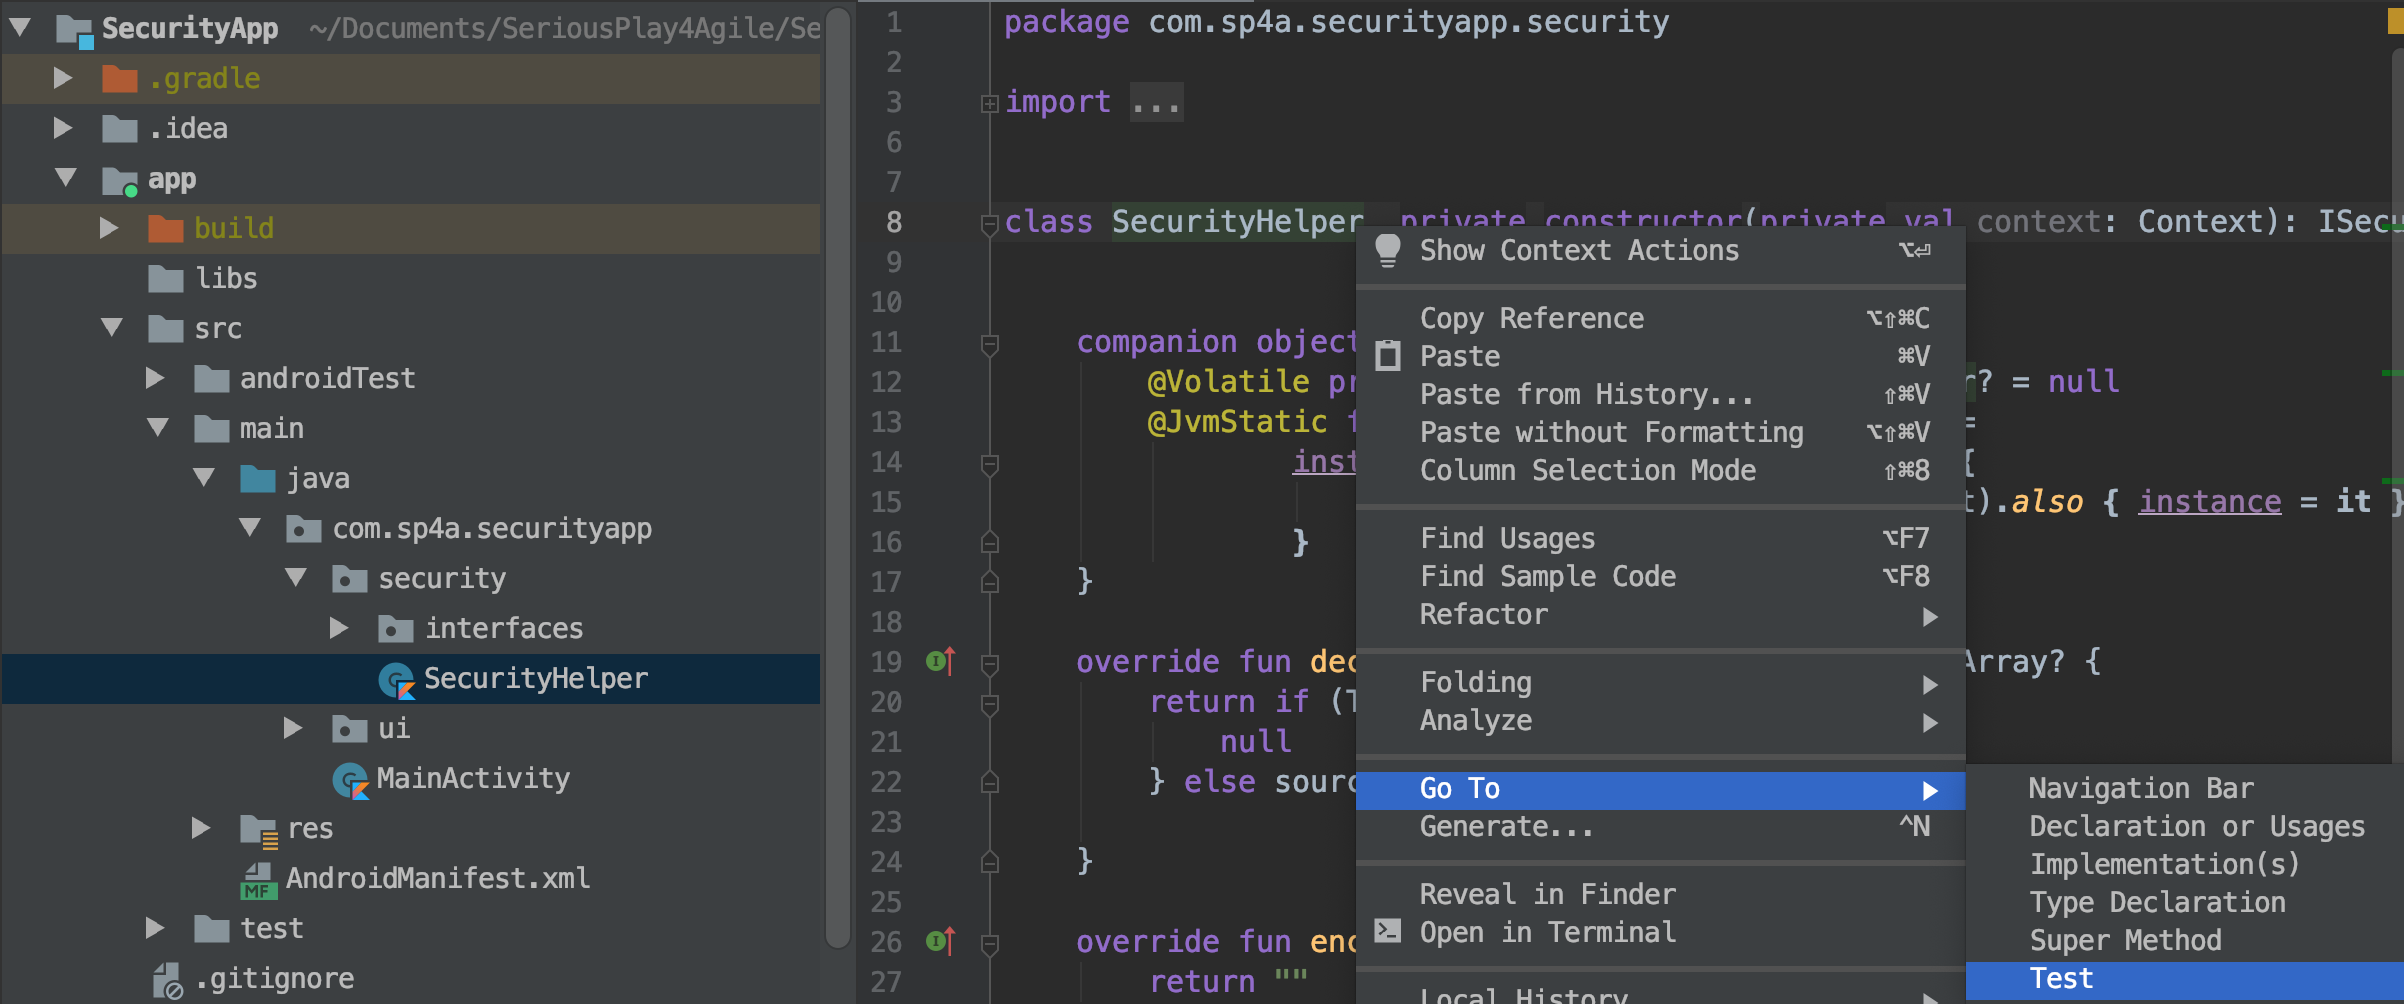
步骤2方式二:在需要被测试的类的代码中,右键-Go To-Test,创建单测类SecurityHelperTest
单元测试的生命周期
1
2
3
4
5
6
7
8
9
10
11
12
13
14
15
16
17
18
19
20
21
22
23
24
25
26
| class SecurityHelperTest{
@Before
fun init(){
println("===@Beforeinitcalled===")
}
@After
fun clearDataForTest(){
println("===@AfterclearDataForTestcalled===")
}
@Test
fun testInstanceOnce(){
println("ooo@TesttestInstance1calledooo")
}
@Test
fun testInstanceTwice(){
println("ooo@TesttestInstance2calledooo")
}
@Test
fun testInstanceThird(){
println("ooo@TesttestInstance3calledooo")
}
}
|
为这个单元测试类SecurityHelperTest首先添加以上代码,我们分别使用@Before/@After/@Test三种注解到类的方法上,每个方法都会打印出不同的日志内容,最后运行这个测试代码。

看到测试结果,3个@Test的方式依次调用,每次调用前都会执行@Before,调用后都会执行@After。知道这个生命周期之后,就可以在@Before放入公共初始化的内容,在@After放入公共销毁的内容。
单元测试的Mock对象
1
| var mSecurityHelper: SecurityHelper = SecurityHelper.getInstance(context)
|
由于junit是用于进行java的单元测试,而android当中有时候需要操作到android库当中的类(如我的加解密类当中的Context),这时候junit就无法测试了,因此我们需要mock制造一个假的上下文Context,给到这个方法作为输入的参数使用。
1
| testImplementation 'org.mockito:mockito-core:2.19.0'
|
这里采用了Mockito作为单元测试的Mock使用,在build.gradle下dependencies加入Mockito依赖包。
1
2
3
4
5
| @RunWith(MockitoJUnitRunner::class)class
SecurityHelperTest {
...
context = mock(Context::class.java)
}
|
回到我们的单元测试类SecurityHelperTest,在类开头上方加入注解@RunWith(MockitoJunitRunner::class),这个时候就通过mock(Context::class.java)的方法mock出来一个假的上下文context使用(其他android库的对象同理)。
断言的使用
junit中是通过assert类来实现断言,判断这个测试结果是否符合预期。以下列出了一些常用方法(更多详细可查询assert类):
| assertEquals | 检查两个变量值是否相等 |
|---|
| assertNotNull | 检查对象是否不为空 |
| assertSame | 检查两个对象是否相同 |
| assertTrue | 检查条件为真 |
1
2
3
4
5
6
7
8
9
10
11
12
13
14
15
16
17
18
19
20
21
22
23
24
25
26
27
28
29
30
31
32
33
34
35
36
37
38
39
40
41
| @RunWith(MockitoJUnitRunner::class)
class SecurityHelperTest {
companion object {
lateinit var context: Context
lateinit var mSecurityHelper1: SecurityHelper
lateinit var mSecurityHelper2: SecurityHelper
lateinit var mSecurityHelper3: SecurityHelper
}
@Before
fun init() {
println("===@Before init called===")
context = mock (Context::class.java)
mSecurityHelper1 = SecurityHelper.getInstance(context)
mSecurityHelper2 = SecurityHelper.getInstance (context)
mSecurityHelper3 = SecurityHelper.getInstance (context)
}
@Test
fun testInstanceOnce() {
println("ooo@Test testInstance1 calledooo")
assertNotNull (mSecurityHelper1)
}
@Test
fun testInstanceTwice() {
println("ooo@Test testInstance2 calledooo")
assertSame (mSecurityHelper1, mSecurityHelper2)
}
@Test
fun testInstanceThird() {
println("ooo@Test testInstance3 calledooo")
assertEquals (mSecurityHelper3.javaClass.name, mSecurityHelper2.javaClass.name)
}
@After
fun clearDataForTest() {
println("===@After clearDataForTest called===")
}
}
|
这里是SecurityHelperTest的完整代码,我们分别使用一遍assertNotNull/assertSame/assertEquals三个断言方法,用于测试这个加解密单例代码,第一次调用是否不为空,第二次调用是否同一个实例对象,第三次调用是否实例的类名字相等。
最后运行这个单元测试
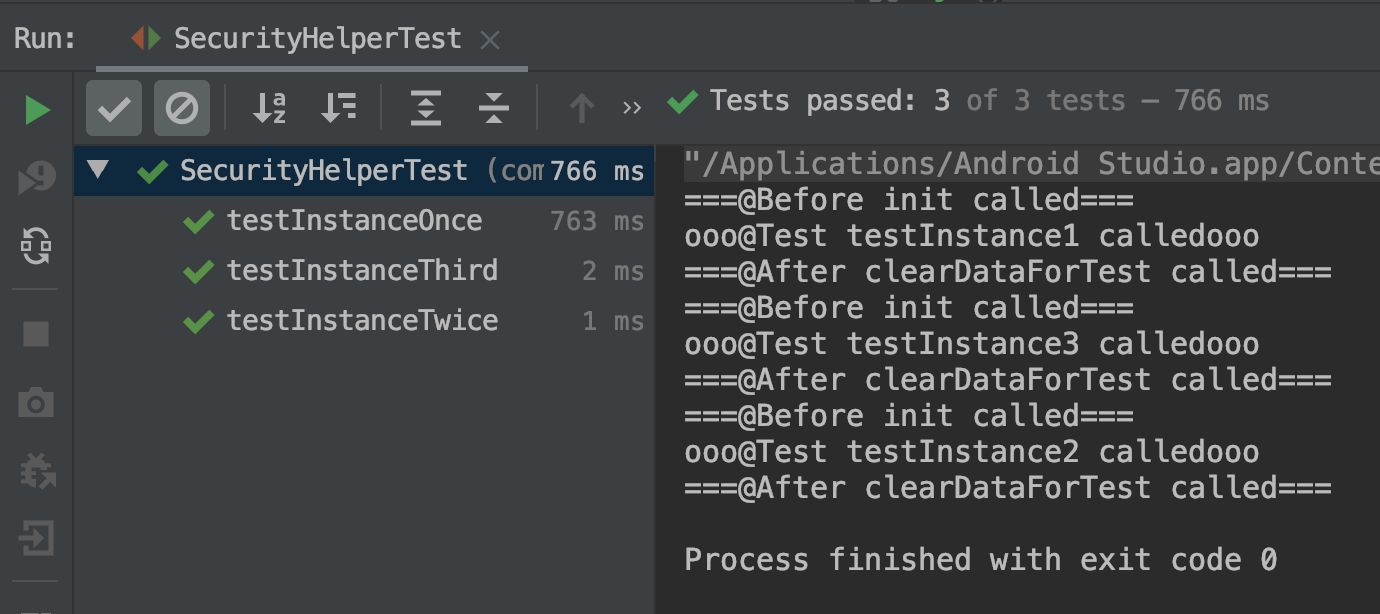
以上全部就为我们这个加解密类加入了一个单元测试的过程了,最后我们运行一遍这个单元测试,通过,没有问题哦~
专注为企业以及个人提供数字化、敏捷DevOps、IT技术研发、需求分析的咨询服务